

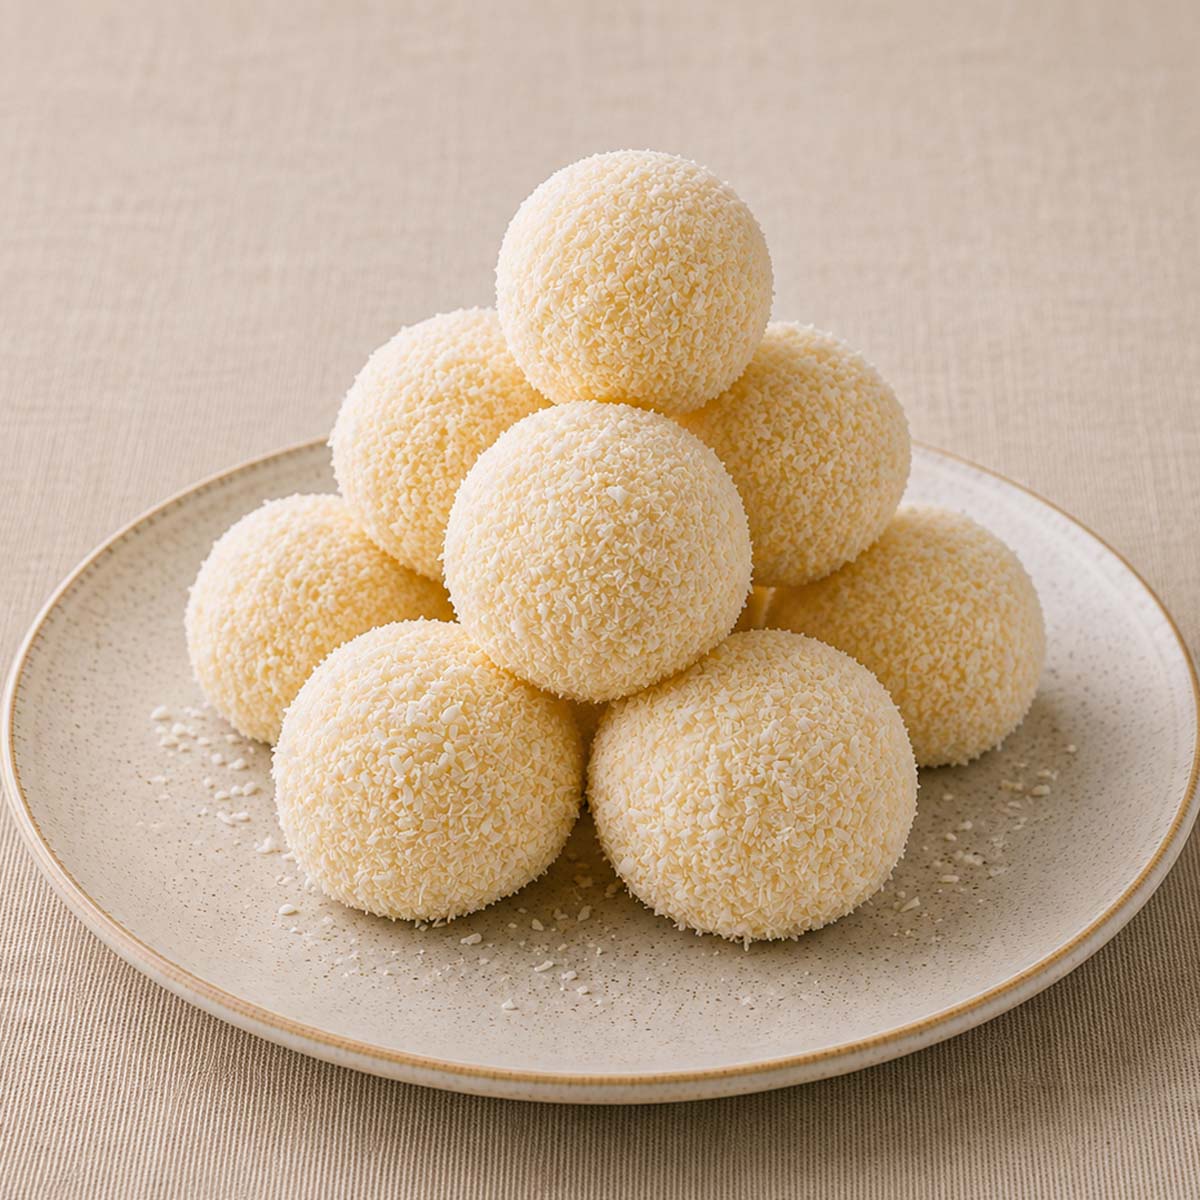
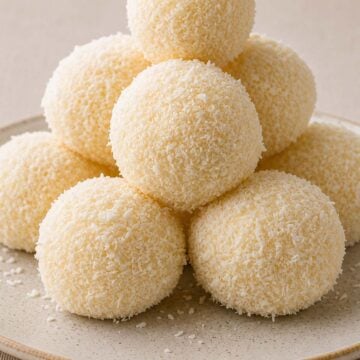
These 2 ingredient coconut balls combine finely shredded coconut and sweetened condensed milk into a soft, chewy, and gooey no-bake treat. They need only 10 minutes of hands-on preparation before chilling, making them practical for holiday dessert trays.
Why You'll Love These 2 Ingredient Coconut Balls
- Only two ingredients: Coconut and condensed milk create the complete center without flour, butter, or melted chocolate.
- No oven needed: The balls set in the refrigerator, leaving the oven free for other holiday baking.
- Soft, gooey centers: Chilling firms the exterior while preserving the chewy coconut center.
- Easy to prepare ahead: Make them before a holiday gathering and keep them refrigerated until needed.
I make these coconut balls when I want a simple homemade treat for the holiday table. They require no baking, so I can prepare them while the oven handles other desserts. I like arranging them beside homemade peppermint bark and traditional shortbread cookies for contrasting colors and textures. Their snowy coating gives the platter a festive finish without extra decorating. Making them ahead also leaves more time for everything else during the holidays.
For me, the appeal is their rich coconut flavor and sweet condensed-milk finish. The centers stay soft, chewy, and gooey, while the outer coconut feels slightly drier. Mixing thoroughly helps the coconut absorb the condensed milk before shaping. Rolling each ball in coconut creates a different finish from my baked coconut macaroons. Like my 2-ingredient yogurt cheesecake, these balls gain their structure entirely through chilling. One hour in the refrigerator firms them without sacrificing their soft centers.
Key Ingredients for 2 Ingredient Coconut Balls
With only two ingredients, choosing the right form of coconut makes an important difference.
- Finely shredded unsweetened coconut: For me, the fine texture creates cohesive, chewy centers and an even snowy coating.
- Sweetened condensed milk: I use a full can to sweeten and bind the coconut without adding another ingredient.
How to Make 2 Ingredient Coconut Balls
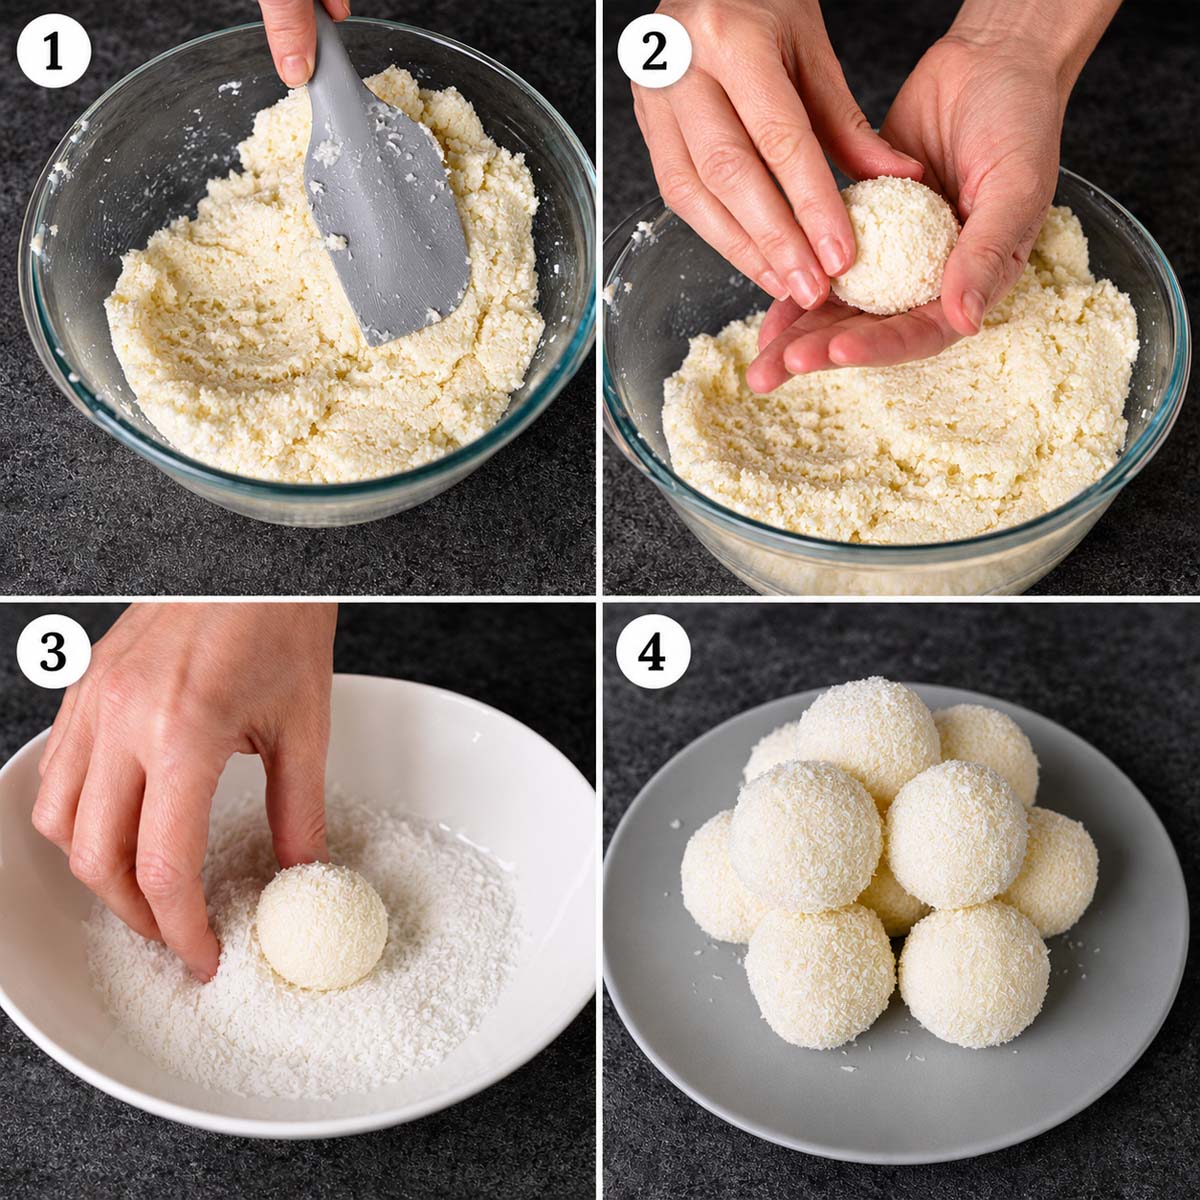
1. Mix the coconut base: Combine finely shredded coconut and sweetened condensed milk until evenly coated and cohesive.
2. Divide the mixture: Separate it into equal portions so each ball is similar in size.
3. Shape and coat: Roll the portions into smooth balls, then cover each one in the reserved coconut.
4. Chill until firm: Refrigerate the finished balls for one hour before serving.
Tips for 2 Ingredient Coconut Balls
- Use finely shredded coconut: Larger flakes will not bind or cover the balls as evenly.
- Mix until cohesive: Continue mixing until no dry pockets remain and the mixture holds together when pressed.
- Coat before chilling: The dry coconut adheres more evenly while the surface of each ball is still sticky.
- Roll instead of sprinkling: Turning each ball through the reserved coconut covers the sides and base evenly.
Storage
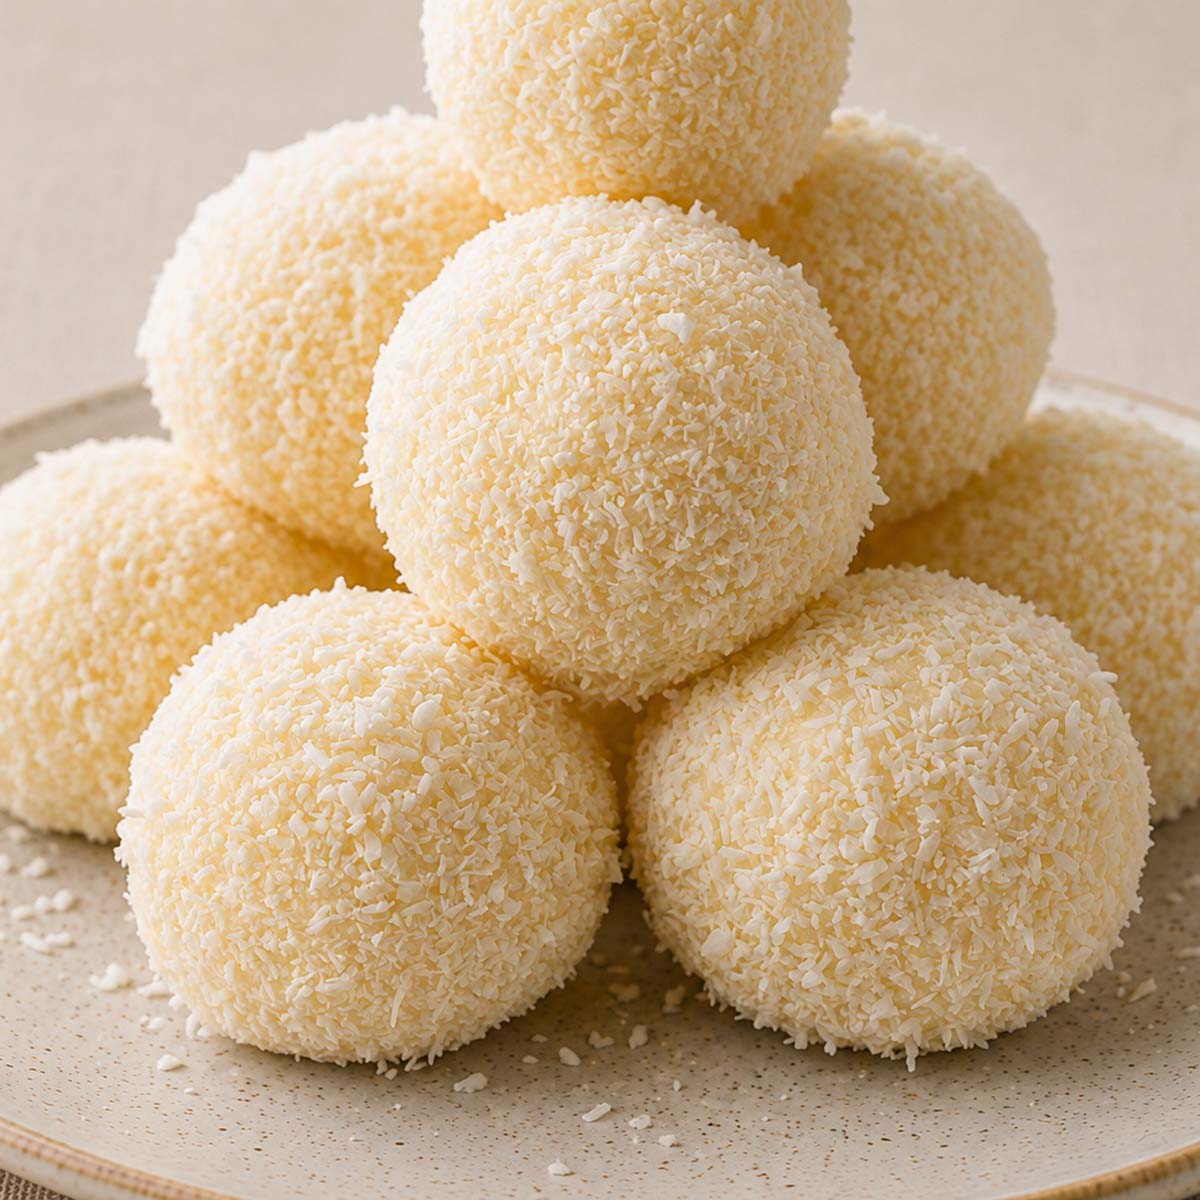
I keep leftover coconut balls in the refrigerator for a few days. They can also be frozen for up to one month.
Try These Recipes Next!



Get my new cookbook!
Get your copy of the book with easy, fresh, and tried-and-true Mediterranean Recipes from the Author and founder of Vargasavour Recipes, Estefania.
Recipe
2-Ingredient Coconut Balls
Ingredients
- 300 g finely shredded unsweetened coconut
- 397 g sweetened condensed milk - 1 can
Instructions
- Add 250 g finely shredded unsweetened coconut, and 397 g sweetened condensed milk to a large bowl. Mix until thoroughly combined and the coconut holds together when pressed.
- Divide the mixture into 9 equal portions and roll each portion into a ball. Coat each ball evenly with the remaining 50 g finely shredded unsweetened coconut.
- Arrange the 2-ingredient coconut balls on a plate or tray and refrigerate for 1 hour before serving.
Notes
Nutrition
Nutritional information is based on third-party calculations and should be considered an estimate only. Actual nutritional content will vary based upon brands used, measuring methods, cooking method, portion sizes, and more.

Comments
No Comments