

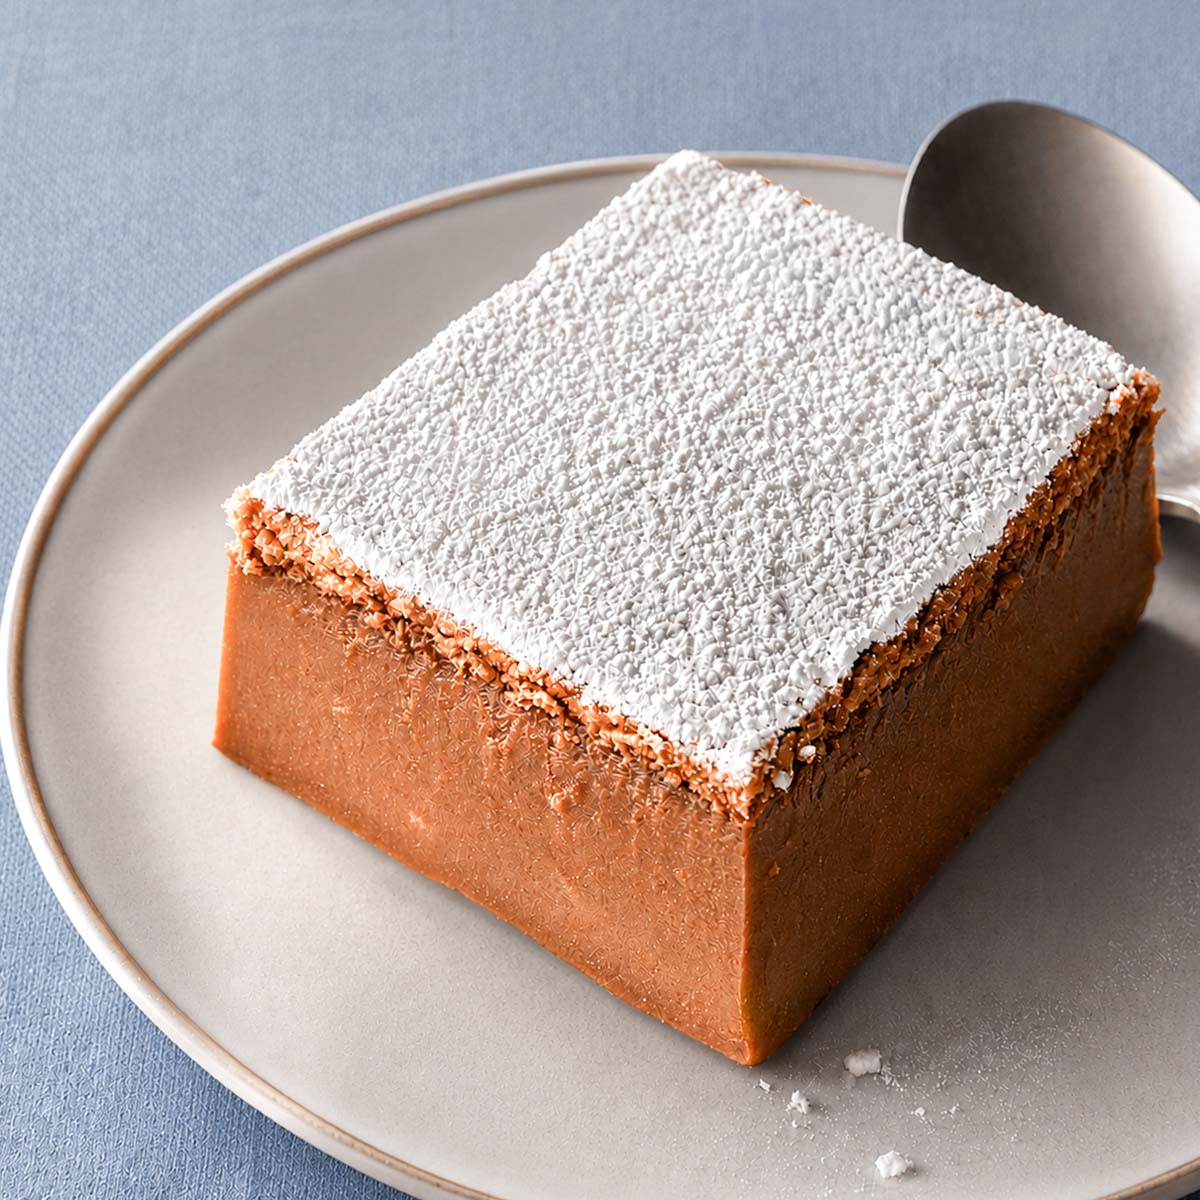
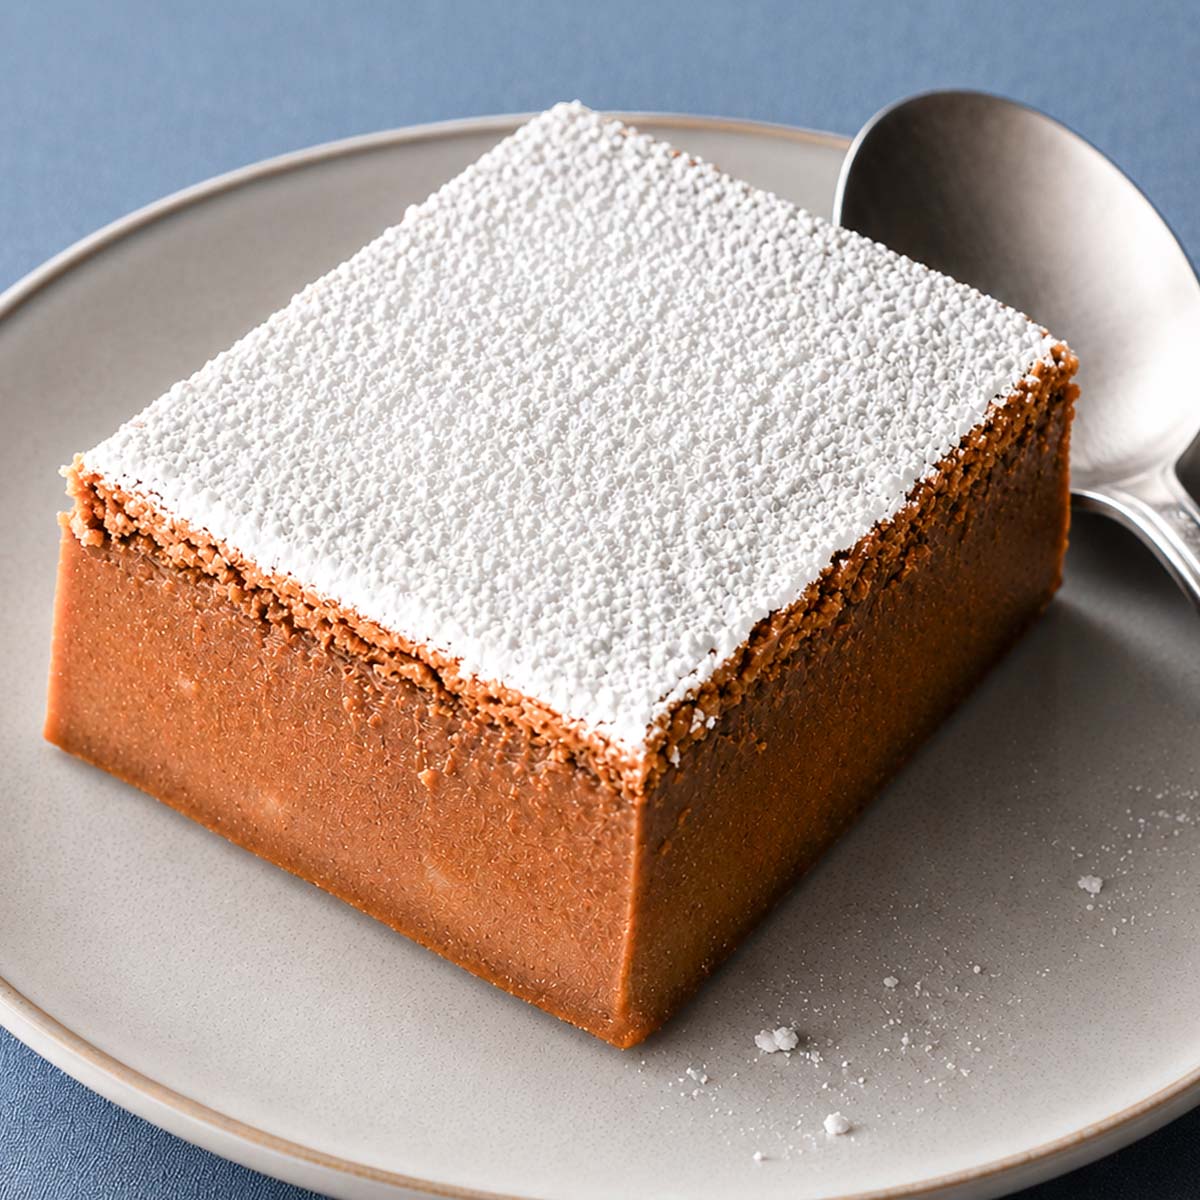
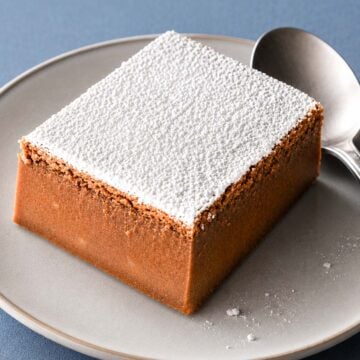
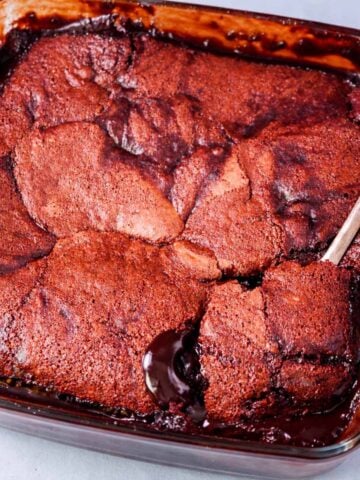
There is something fascinating about pulling a cake out of the oven and realizing one simple batter has turned into three completely different layers. This coffee magic cake comes out with a soft sponge top, creamy custard center, and delicate base, all with a deep coffee flavor that makes it feel richer than the classic version.
Why You'll Love This Coffee Magic Cake
- One batter magically separates into three layers while baking
- Rich coffee flavor without being overly sweet
- Simple pantry ingredients and easy preparation
- Creamy, soft, and perfect for making ahead
- Beautiful sliced layers that look impressive for guests
I started making this recipe when I wanted a dessert that felt impressive without needing complicated steps. The batter looks unusually thin before baking, which always surprises people the first time they make it, but that is exactly what creates the layered texture. The coffee also changes the personality of the cake completely. Instead of tasting overly sweet, it becomes balanced, slightly bold, and much more comforting with a cup of coffee or after dinner.
What I like most about this version is how the coffee naturally blends into the custard layer while the top stays light and airy. It almost feels like a mix between a soft sponge cake and a creamy coffee pudding. After chilling, the texture becomes even better and cleaner to slice. It is one of those desserts that looks bakery-style once cut, even though the ingredients are simple pantry staples.
If you enjoy layered desserts with creamy textures, you might also like my coffee desserts, custard-style cakes, or easy mousse recipes because they have the same soft and comforting feel without needing difficult techniques.
Why Is It Called Magic Cake?
Magic cake gets its name from the way one thin batter transforms into separate layers while baking. The bottom becomes dense and soft, the middle turns creamy like custard, and the top forms a light sponge layer. The texture change happens naturally in the oven without needing multiple batters or complicated techniques.
The coffee version works especially well because the flavor spreads evenly through every layer, giving the cake a deeper and more balanced taste than the traditional vanilla version.
Key Ingredients in Coffee Magic Cake
You'll find the exact measurements in the recipe card, but here's a closer look at key ingredients and why I use them.
- Eggs & Sugar: I use eggs and granulated sugar as the base because they help the cake separate into its soft layers while giving the top a light, delicate texture.
- 00 Flour & Butter: I like using 00 flour because it keeps the cake tender and smooth. The melted butter adds richness and helps give the custard layer a softer finish.
- Milk & Coffee: The milk and lukewarm coffee make the batter thin, which is exactly what this cake needs to form its layers. The coffee gives the dessert its deep flavor without making it too sweet.
- Powdered Sugar: I finish the cake with powdered sugar because it keeps the top simple, pretty, and not too heavy.
How to Make Coffee Magic Cake
You'll find the exact measurements in the recipe card, but here's a closer look at key ingredients and why I use them.
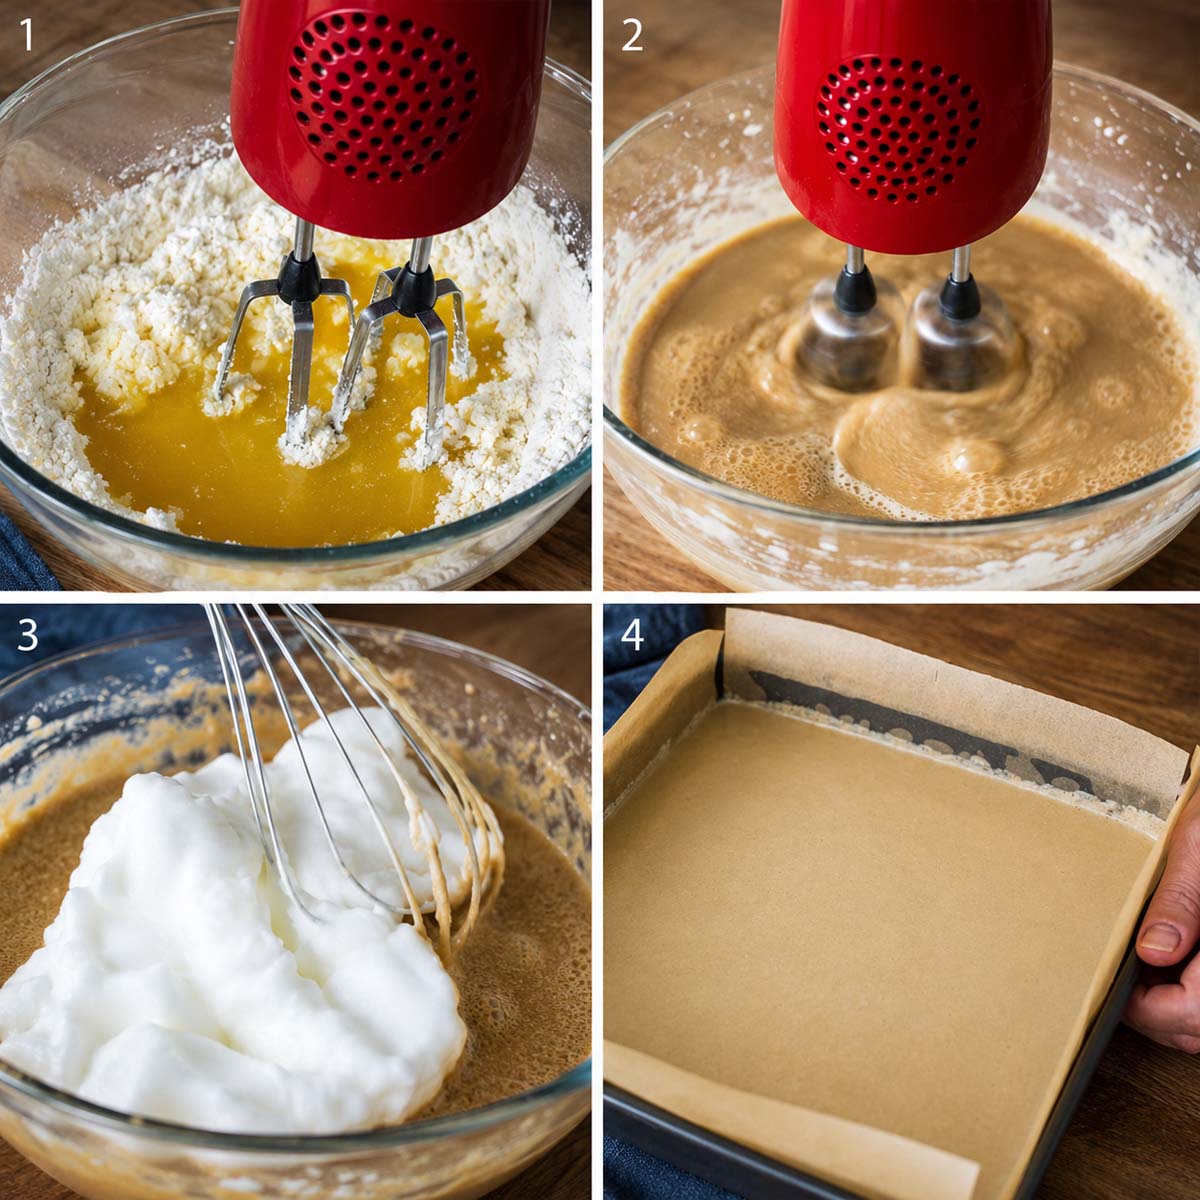
1. Whisk the Egg Yolks: Beat egg yolks with sugar until pale, then mix in flour and melted butter.
2. Add the Milk and Coffee: Add milk and lukewarm coffee, whisking until smooth.
3. Fold in the Egg Whites: In a separate bowl, beat egg whites to stiff peaks, then gently fold into the batter.
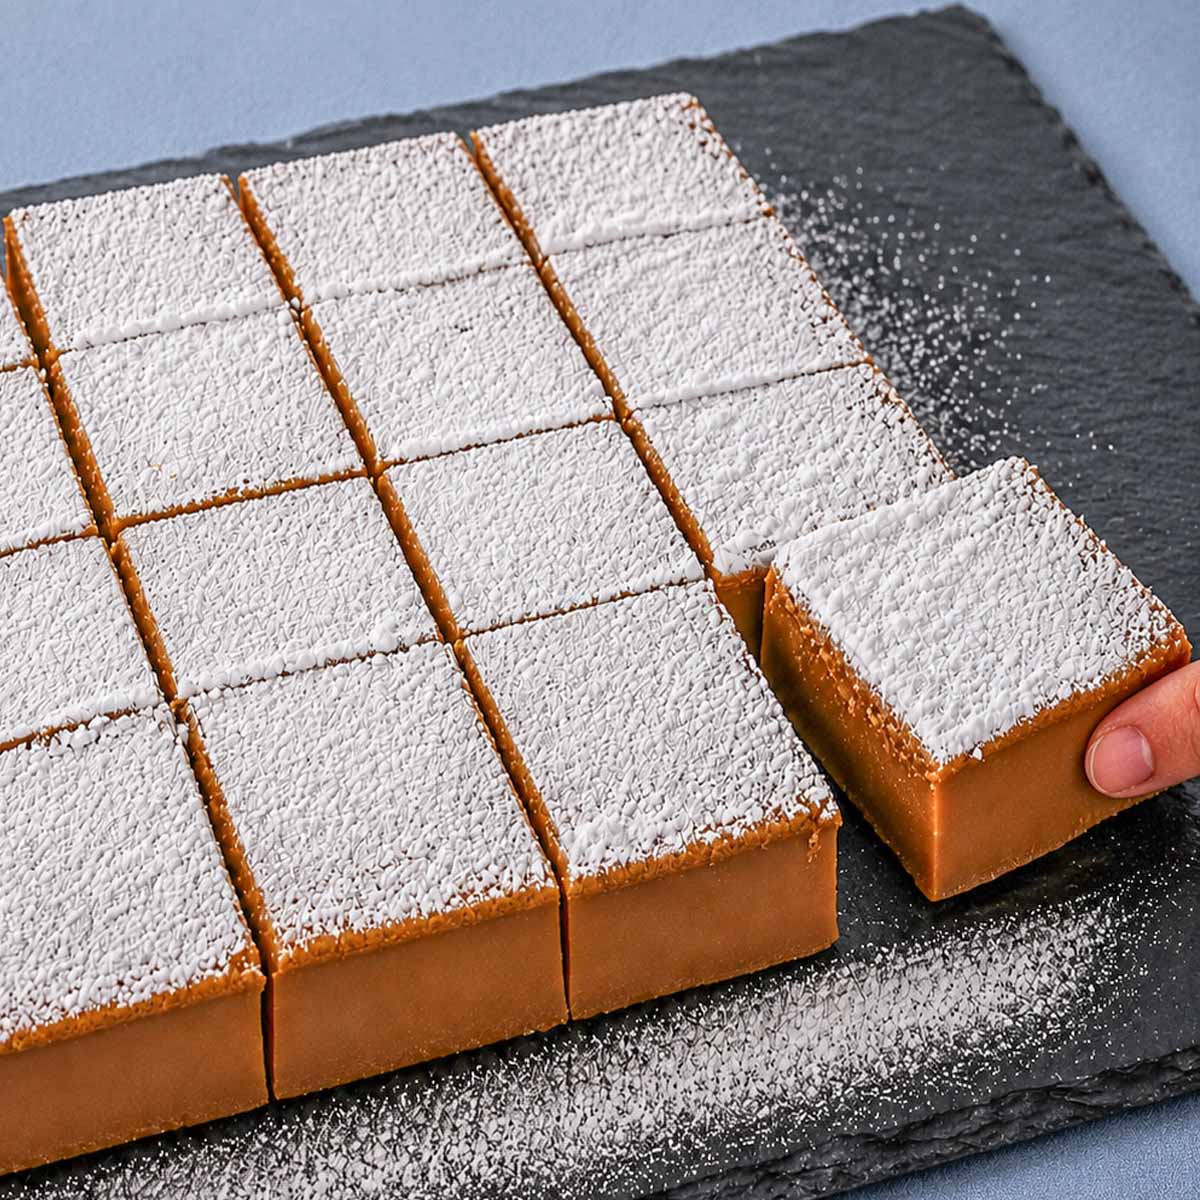
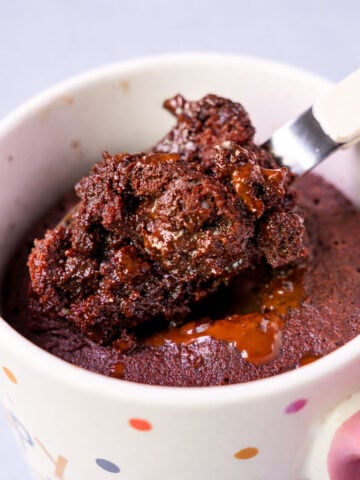
4. Bake and Chill the Cake: Pour into a lined 20x20 cm dish and bake at 340°F / 170°C (300°F convection / 150°C fan) for 50 minutes. Cool, refrigerate 2+ hours, and dust the coffee magic cake with icing sugar before serving.
Tips for Better Layers and Texture
Leave Some Egg White Lumps: I never fully smooth out the batter because those small bits of egg white help create the airy top layer.
Do Not Rush the Cooling: I like letting the cake cool completely before refrigerating so the layers can fully settle.
Storage
Store the coffee magic cake covered in the refrigerator for up to 4 days. I like keeping it chilled because the custard layer stays firmer and the coffee flavor becomes even deeper the next day. Before serving, dust with fresh powdered sugar if needed.
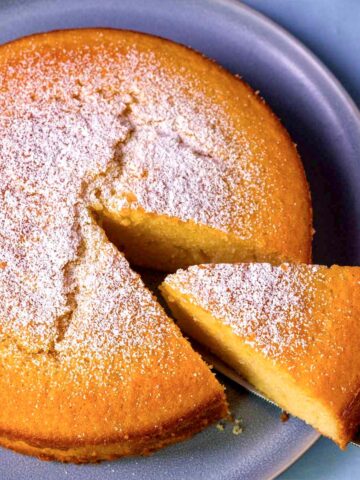
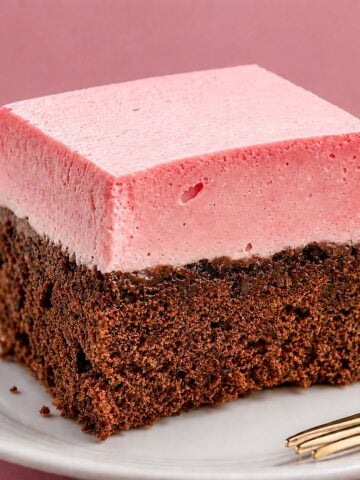
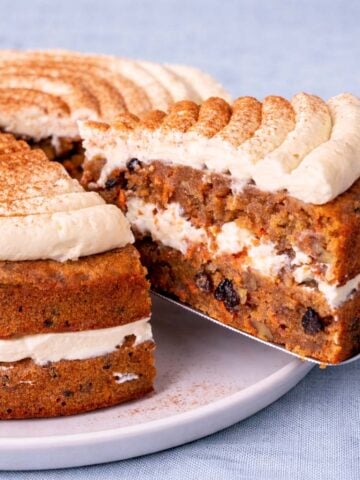
Try These Cake Recipes Next!

Recipe
Coffee Magic Cake
Ingredients
- 4 eggs - separated
- 150 g granulated sugar
- 120 g flour 00
- 120 g butter - melted
- 250 ml milk
- 250 ml coffee - lukewarm
- Powdered sugar - for dusting
Instructions
- Separate 4 eggs into yolks and whites with an egg separator. In a large bowl, whisk the egg yolks with ¾ cup (150 g) sugar using a hand mixer until pale and creamy.
- Add 1 cup (120 g) 00 flour and mix until fully incorporated. Pour in ½ cup (120 g) melted butter, mixing continuously until combined.
- Pour in 1 cup (250 ml) milk and 1 cup (250 ml) lukewarm coffee, whisking until smooth. The batter will look very thin.
- In a separate bowl, beat the egg whites until stiff peaks form. Gently fold them into the batter using a balloon whisk or spatula. The batter should stay foamy and slightly lumpy.
- Pour the batter into a parchment-lined 8x8-inch (20x20 cm) baking dish.
- Bake in a preheated oven at 340°F / 170°C (300°F convection / 150°C fan) for 50 minutes, until golden with a slight wobble in the center.
- Let the coffee magic cake cool completely, then refrigerate for at least 2 hours before slicing. Dust with powdered sugar just before serving.
Notes
Nutrition
Nutritional information is based on third-party calculations and should be considered an estimate only. Actual nutritional content will vary based upon brands used, measuring methods, cooking method, portion sizes, and more.


John says
This magic coffee cake is absolutely divine