

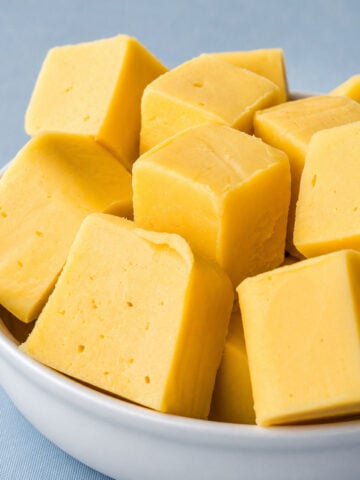
This white chocolate fudge is smooth, creamy, and incredibly easy to make with condensed milk and white chocolate. It's a quick no-bake treat that sets into soft, rich squares perfect for holidays or homemade sweets.
Why You'll Love It
- Easy White Chocolate Fudge: This recipe comes together quickly with just a few ingredients and no complicated steps.
- Smooth and Creamy Texture: The combination of white chocolate and condensed milk creates a rich, soft fudge that slices beautifully.
- No Candy Thermometer Needed: Everything melts together in the microwave, making it much easier than traditional fudge.
- Fun Layered Colors: The red and blue layers give the fudge a festive look that makes it perfect for parties or holiday dessert trays.
When I want a simple homemade sweet that looks impressive without requiring complicated steps, this white chocolate fudge is one of the first recipes I turn to. The condensed milk melts together with the white chocolate to create a smooth base, and the layered colors make the final fudge look festive and fun. It's the kind of recipe that works well for parties, holiday trays, or when you want a quick dessert ready in the fridge.
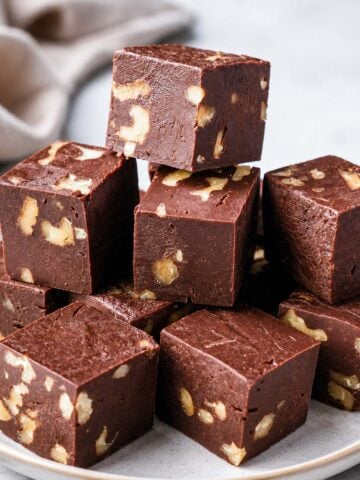
What I enjoy most about this recipe is how little effort it takes to make something that feels special. The mixture comes together in minutes, chills until firm, and slices into soft, creamy squares. If you enjoy easy homemade sweets, my 2 ingredient chocolate fudge, 3 ingredient chocolate fudge, and Hershey's old fashioned cocoa fudge are also great recipes to try.
Key Ingredients in White Chocolate Fudge
You'll find the exact measurements in the recipe card, but here's a closer look at key ingredients and why I use them.
- White Chocolate & Condensed Milk: I use white chocolate and condensed milk because together they melt into a smooth, creamy base that sets perfectly once chilled.
- Food Colouring: A little red and blue food colouring adds contrast and creates the layered effect that makes the fudge look festive.
How to Make White Chocolate Fudge
You can find the complete printable recipe with measurements below, but for now, here's a quick overview of how it goes:
1. Chop the white chocolate into small pieces, place it in a bowl, and pour the condensed milk over it. Microwave in short intervals until fully melted and smooth.
2. Divide the melted mixture into three equal portions.
3. Pour one portion into the baking tin and spread it evenly. Mix red food coloring into the second portion and spread it over the first layer, then mix blue food coloring into the third portion and spread it over the red layer.
4. Refrigerate for about 2 hours until firm, then cut into squares.
Tips for the Best White Chocolate Fudge
Use Good White Chocolate: I prefer using white chocolate bars instead of chips because they melt more smoothly and give the fudge a better texture.
Let Each Layer Cool Slightly: I like letting each coloured layer sit for a minute before adding the next one so the colours stay more distinct.
Storage
I store the fudge in an airtight container in the refrigerator, where it keeps well for about 1-2 weeks.
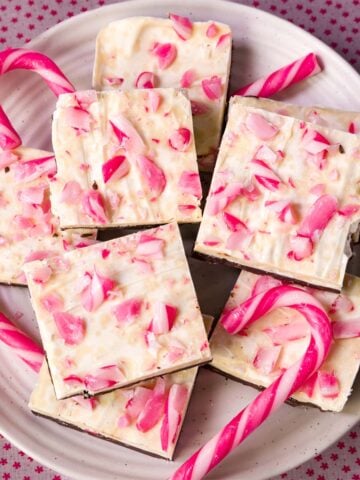
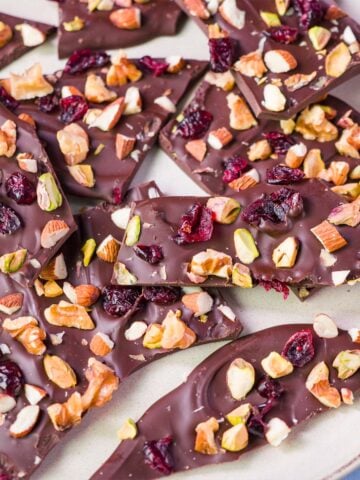
Try These Fudge Recipes Next!


Recipe

White Chocolate Fudge
Ingredients
- 397 g condensed milk - 1 can
- 400 g white chocolate - 4 tablets, chopped
- 1 teaspoon red food colouring
- 1 teaspoon blue food colouring
Instructions
- Chop 14 oz (400 g) white chocolate into small pieces and place it in a microwave-safe bowl. Pour 1 can (14 oz / 397 g) condensed milk over the chocolate.
- Microwave the mixture in short bursts, stirring between each burst, until the chocolate melts and the mixture becomes smooth.
- Divide the melted mixture into 3 equal portions.
- Pour the first portion into a lined baking tin and spread it evenly. Mix 1 teaspoon red food colouring into the second portion and pour it over the first layer. Mix 1 teaspoon of blue food colouring into the third portion and pour it over the red layer.
- Refrigerate for 2 hours, or until the fudge is firm, then cut into square pieces.
Notes
Nutrition
Nutritional information is based on third-party calculations and should be considered an estimate only. Actual nutritional content will vary based upon brands used, measuring methods, cooking method, portion sizes, and more.

John says
This fudge takes me back to my childhood holidays! It's just like my grandma used to make but with a twist.